

NFTs are the hype and the buzz of today. We can see their presence in our newspapers and websites, even on Youtube channels and social media too.
The world is absorbed in the talks of this NFT space. Well, it’s justified for the millions of dollars they have fetched from their realtors to date.
We can see new artists, entrepreneurs and brands entering this empire of Non-fungible tokens every day.
If you're an artist or an entrepreneur looking forward to launching your own NFTs, this article can be your guide. It will teach you “How to create an NFT art?” and sell it to investors.
Here is the brief outline of what you’ll come across as you read ahead:
- Step 1: Creating a wallet (Types of wallet and How to set up a MetaMask wallet)
- Step 2: Choosing a blockchain
- Step 3: Buying currency for your wallet
- Step 4: Choosing a marketplace and opening an account
- Step 5: Creating, converting and uploading your NFT
- Step 6: Marketing your NFT
How to Create an NFT? A Step By Step Guide
This article will give you a complete picture of your journey of publishing your first-ever token. So, without further adieu, let’s understand How to create NFT?
Learn: What is NFT, and How does it Work?
1. Creating a Wallet
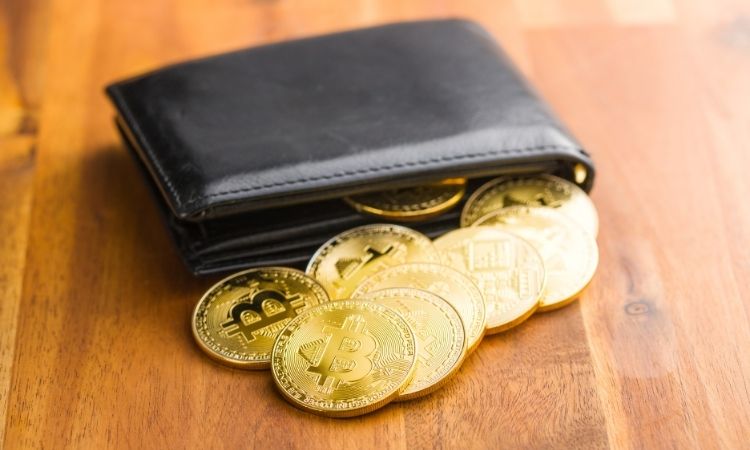
If you’re planning on minting some NFTs, the first step is to create a wallet. No, they aren’t like the traditional ones that hold your money with them. In fact, they are more like your credit and debit cards.
These wallets will help you connect to the blockchain network so you can get access to your funds and assets. Just like your ATM card connects to the funds in your bank.
Types of Crypto Wallets.
There are various kinds of wallets. The very first division can be made on Custodial and Non-Custodial wallets. As of now, you can not use a custodial wallet for NFTs.
On the other hand, non-custodial wallets are the ones to give you complete control over your assets. You can be your own bank and don’t need a third party to carry on your transactions.
I’ll briefly explain the types of non-custodial wallets.
Hot Wallets
Hot wallets are user friendly and are connected to the internet. They are easy to set up and accessible and should be preferred if you plan to transact frequently.
They can further be divided into the following types :
- Desktop Wallets- These wallets are desktop packs that you directly download and install on your laptop or PC. You need antivirus protection as a connection over the internet makes it vulnerable to security threats.
- Mobile Wallets– These wallets can be used at your leisure as they are compatible with smartphones. They are handy but are exposed to malware. Therefore, it is important to encrypt your mobile wallets.
- Web Wallets – These are some of the least secure wallets. A web wallet can be either your browser extension or a website. They can be used on most computers but face the threat of DDoS attacks. In this, your private key is either held by a custodian or encrypted by your chosen password.
Cold Wallets
Cold wallets are more secure than hot wallets. This is because they do not require internet connectivity and are stored offline. These are the two types of cold wallets:
- Hardware Wallets – As the name implies, they are hardware devices. These wallets look like a USB with a screen and some buttons. They are one of the safest options. You can trade your assets without the risk of internet attacks with them.
- Paper Wallets – Paper wallets are the printed version of your public and private keys. You won’t be able to make partial payments with them. After the birth of hardware wallets, paper wallets have lost their popularity.
Steps to Set Up a MetaMask Wallet
Depending on your needs, you can buy, download, create or even print your wallet. MetaMask is one of the most popular and preferred digital wallets.
Here are the steps to set up your MetaMask wallet:
- Go to the site “https://metamask.io/” and click on the download
- Click on “Install Metamask for chrome”. The site directs you to the chrome web store.
- Click on “add to chrome” and get the extension on your PC.
- You'll see a puzzle icon on the top right corner of your chrome page. Click on that.
- You’ll find the MetaMask icon of a fox head. Click on get started.
- Now choose between creating a new wallet or importing your existing one.
- Create your password, agree to the terms and click on create.
- You’ve created a wallet.
- Now, you can see a seed phrase of 12 words. This is to be kept secret and is not to be shared with anyone. Write it on a piece of paper and keep it in your locker.
- You can also download the seed phrase and keep it offline in an encrypted hard drive.
- After you’ve done this, click on next.
- Click on the words in the correct order of your seed phrase and hit confirm.
- Click on “all done”.
You can also keep it on your phone by downloading the MetaMask application.
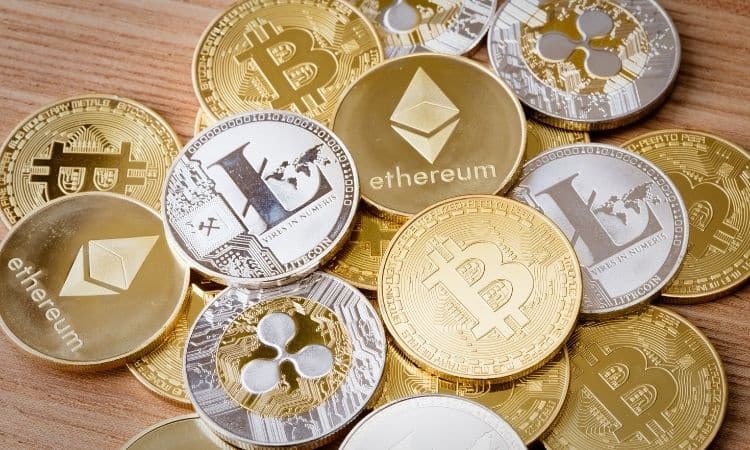
2. Choose a Blockchain

Once you’ve set up a wallet, you need to choose the right blockchain. There are many chains you can choose from according to your needs.
At present Ethereum blockchain is the most popular in the market and is also the secure one. There are others like Solana, Polygon (MATIC), Cardano, Binance smart chain, Tezos, Wax, EOSIO, etc.
Depending on your requirements, choose a network. It is preferred if you choose either Ethereum or Solana. If you choose a different one, make sure you consider the cost, future support, commission charged and usability of blockchain for your NFTs.
3. Buy Currency for Your Wallet
Once you’ve chosen a blockchain, you’re going to need some initial investment. “ I know, right? I’ve got the money ready” If that’s what you’re thinking, also know that you need that investment as a cryptocurrency. You’ll have to buy Ethereum, Solana or any currency as per the blockchain you’ve chosen. These are the steps you can follow:
- Choose one of the best cryptocurrency exchanges like Coinbase, Gemini, Robinhood, etc.
- Do your research and sign-up.
- After you provide the required information, you can connect your bank account to transfer funds. Basically, you need to transfer funds into your account.
- Now you need to buy your currency. For example, Ethereum. For this, you’ll have to trade Ethereum with the currency in your account.
- Once you exchange, your asset will be shown as a percentage of the ether coin you own.
- Now transfer your funds to a digital wallet.
4. Choosing a Marketplace and Opening an Account
Now that you’ve chosen a currency and created a wallet browse for a marketplace. It is an NFT platform where you can display, trade and sometimes mint your NFTs. You can choose from various sites like OpenSea, Rarible, SuperRare, foundation, mintable, Myth Market, Enjin, BakerySwap, etc.
Before you make a choice, you must carefully study the marketplace. Every market has its own set of terms and conditions. You Might Also want to look into the kind of NFT covered by the platform.
For example, OpenSea covers all the NFTs, whereas MythMarket focuses mainly on trading cards. A few things like a shopfront, advanced search options, rating and security should also be taken into consideration.
After you have chosen a marketplace, you’ll have to create your account with them. Every platform has a different procedure, but a few things like registering and attaching your wallet remain constant. For example, to create your OpenSea account, simply connect it to your MetaMask wallet, and you’re done.
5. Creating, Converting and Uploading Your NFTs
This is when you finally start creating your artwork. Decide on what you want your NFTs to be. If you are a photographer, it can be photographs or some unique videos. If you’ve got some audio, you can even turn that into an NFT, or if you can create interesting memes, they can also be uploaded as NFTs.
So, it's up to you to decide what form your NFTs will take. It can be audio, video, GIPHY, graphic image, photograph, etc.
Creating an NFT is usually simple. Most of the NFT platforms have similar steps. If you plan to use OpenSea, these are the steps that you can follow:
- Go to the official website of OpenSea
- On the top right corner of the page, you’ll see a wallet icon. Click on that.
- Now choose your wallet. ( let’s take MetaMask in our case)
- Once you've connected the wallet, go to the drop-down menu under your profile picture.
- Click on “My Collections”. You’ll be directed to a page with various customizations. Select “Create a new collection”
- You can decide on a logo and banner for your collection on this page. Now you can write descriptions, create a custom URL, select categories, etc.
- After this, you have to choose your Royalties payment method and other data. You have to select the percentage you desire, which cannot exceed 10 per cent on OpenSea.
- Once you’ve designed your collection, hit create and wait for the page to reload. You'll then be taken back to your collection. Now, on the top right corner of your screen, click on “add an item”.
- This is how you create a specific NFT. Now you have to upload your file to the platform.
- Name your file, write the description, and select some properties and stats for your NFT. After this, hit “create” one more time.
All of these steps are for the case of publishing a single NFT. An artist is more likely to publish a collection of NFTs. for that, you must look into “bundle publishing”.With this, you can mint a certain number of tokens at the same time. This will also help you in lowering your gas fees.
6. Marketing Your NFT

Creating NFTs and launching it is just 50 per cent of the needed work. You also need to market your artwork. One of the most important factors is adding utility to your NFTs.
The utility is basically a state of being useful, profitable or beneficial. Your buyers have to know why they should invest in your NFTs, what value they will add to their lives and what they will enjoy after buying them.
A popular way to do this is by clearly stating your roadmap. You’d sketch down the future of your NFT holders, write giveaways, member-only meetings or parties, etc.
Another vital step is building a community. It can be done by staying active on various social media platforms like Twitter and Instagram. Twitter should be preferred as most of the NFT investors have a solid presence on Twitter and thus can help you promote your NFTs.
You can’t forget to join Discord servers. There are various public servers that are dedicated to promoting new NFT projects. You can even host or attend an event for your NFTs here.
What’s better than the words of an influencer? A collaboration with existing creators or actual NFT promoters will prove to be a great marketing idea.
People usually trust their word after they’ve successfully launched a project. Even reach out to YouTubers or influencers who have their content revolving around blockchain, metaverse and NFTs.
Remember, It is very important that you build a strong community and market your project or else it can get lost in the crowd of new launches that occur every day.
Conclusion
I hope this article gave you the basic knowledge of How to create NFT? with the complete procedure you were looking for.
There are a lot of new terms and concepts you’ll come across as you do your research on How to make NFT? Do not rush. Study well and keep browsing for the right content.
Look out for the ways you can reduce your costs and increase your security. It is important that you study these markets and what is demanded. Anyways, you now know how exactly an NFT is made and sold. So, be creative and keep exploring this new world.